Wednesday, November 24, 2004
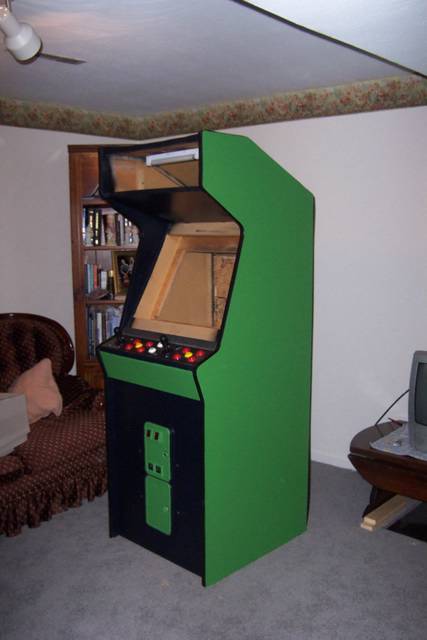
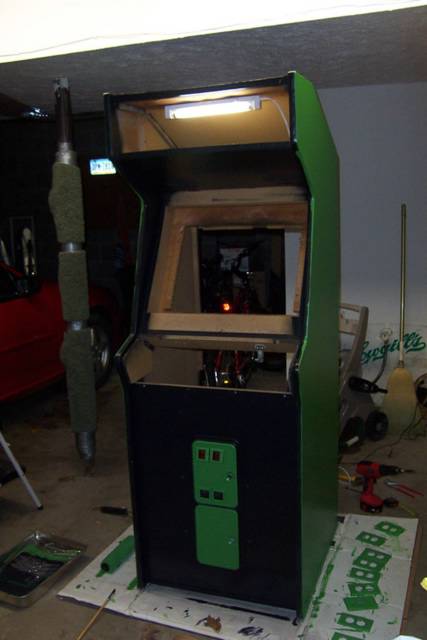
It lives!
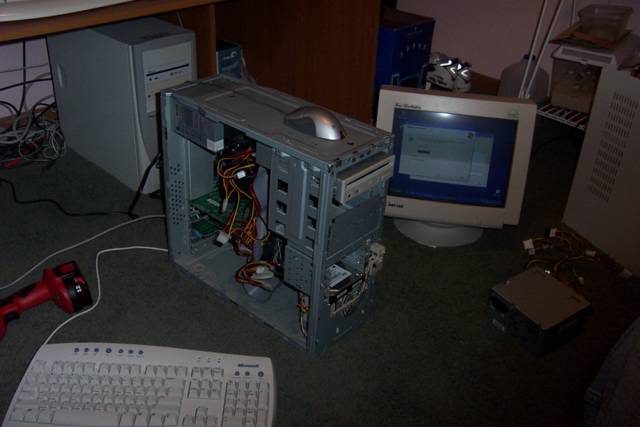
Well a bunch has happened with the progress of my MAME cab. I was able to snag a case, mobo, PSU, cpu, cd-rom, and 20 GB hard drive from a co-worker of mine (thanks Neil!). The system had definitely seen better days, as it had been in a flood and sat in water for a weekend. But regardless, it was a freebie, so I was going to try my best to get the thing working. Unfortunately, after many unsuccessful attempts, I had to pronounce it officially dead. Cause of death - a fried motherboard.
So anyways, I salvaged the hard drive, and I'm going to use the PSU, cpu, and cd-rom as spare parts if I need them.
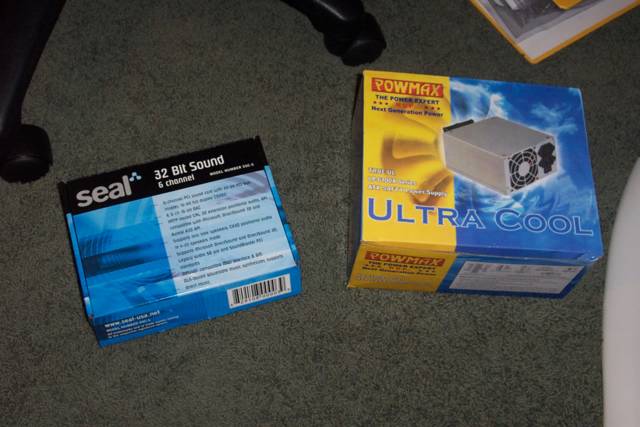
Now fast forward to today where I bought a case, mobo, and PII 400 Mhz cpu that was going to be scrapped for parts from work (it definitely helps being an IT guy) for $15 bucks. Plus I had ordered a 300W power supply from TigerDirect a few days ago, and it arrived today. A couple of phone calls and a quick trip to a local computer shop later, and I had myself 128 MB of SDRAM. A final stop at Circuit City and I snagged a cheapo sound card (and Trans-Siberian Orchestra's new CD!). I already had a spare 64 MB GeForce 2 Pro video card and a MS Internet keyboard sitting around, so I now had all the parts I needed.
As I write this, I'm loading XP SP2 on the system. I'm hoping to have the pc installed in the cab and functioning before I go to bed! After that, all that's left will be to get the marquee printed and attached.